Setting Up Your eufy SoloCam E40 in eufySecurity App
Modified on: Wed, 10 Dec, 2025 at 11:18 AM
For hardware installation, please download the QSG for SoloCam E20/E40 from our help center.
Download the App
Download the eufySecurity app from the App Store (iOS devices) or Google Play (Android devices). You can also visit eufylife.com on your mobile device. For more app functions, please refer to eufySecurity App Function Guide.
Create Your Account
After downloading the app, create or Log in to your account. Learn more about Sign up for A eufySecurity Account.
Add eufy SoloCam E20/E40 to the App
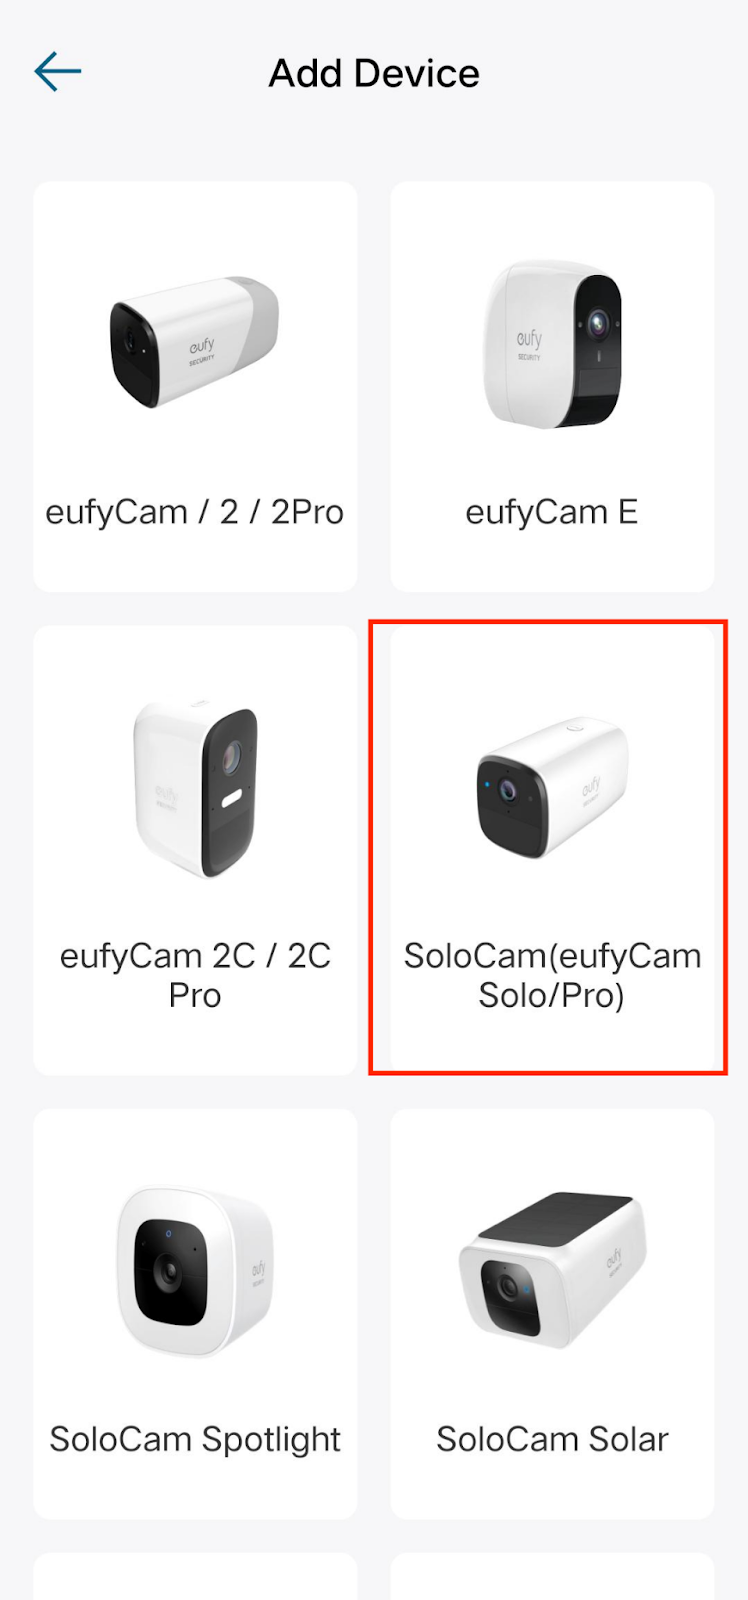
1. Tap Add Device and choose SoloCam (eufyCam Solo/Pro) in the Device tab.
2. Select the Wi-Fi network you are going to connect and input your password. Please only use 2.4 GHz Wi-Fi.
3. Tap Next to press the SYNC button until you hear a beep. The LED is flashing blue.

4. Tap “Heard a Beep” and wait until the camera is connected to the phone.
5. Scan the QR code on the phone with the camera. The distance between the camera and the QR code should be within 8 inches (20cm). Once scanned, you will hear two beeps.

6. Tap “Heard Two Beeps” and the camera will automatically connect to the selected Wi-Fi network.
7. Your camera will show it is added successfully.
8. Tap “Next” to name your camera.
You’re all set! If you still need help setting up SoloCam E20/E40, please contact us for further assistance.
Was this article helpful?
That’s Great!
Thank you for your feedback
Sorry! We couldn't be helpful
Thank you for your feedback
Feedback sent
We appreciate your effort and will try to fix the article